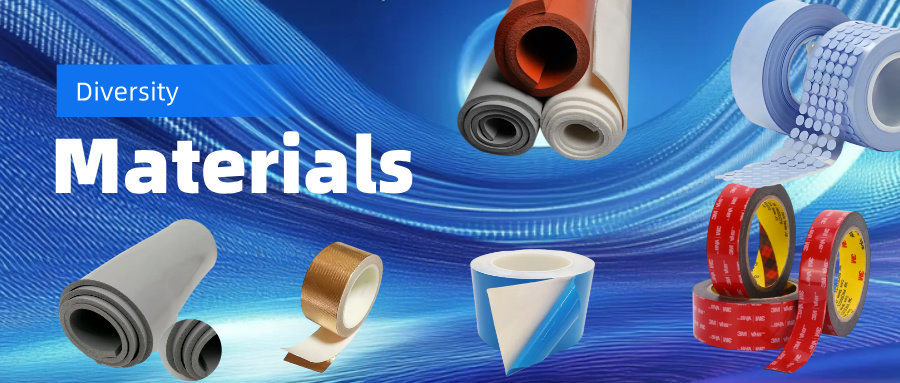


Effective installation of Thermal Gap Pads ensures efficient heat transfer in electronic devices.
These pads bridge gaps between components and heat sinks, enhancing thermal management and reliability.
Proper installation maximizes thermal conductivity, ranging from 1.0 to over 10.0 W/m·K, while ensuring electrical insulation.
This article outlines best practices for installing thermal gap pads, leveraging ODT’s precision die-cutting solutions.
1. Preparation for Thermal Gap Pad Installation
1.1. Understanding Thermal Gap Pads and Their Role
Thermal gap pads are soft, compressible materials filling air gaps between components and heat sinks.
They provide thermal conductivity and electrical insulation, using materials like silicone or graphite.

For example, silicone-based pads offer 1.0–3.0 W/m·K, while high-conductivity options reach 10.0 W/m·K.
Their role is to prevent overheating in CPUs, LEDs, and power modules.
1.2. Selecting the Right Thermal Gap Pad for Your Application
Choosing the right thermal gap pad depends on thermal and mechanical requirements.
Silicone-based pads suit uneven surfaces, while non-silicone pads are ideal for optical devices.
High-conductivity pads, like those with graphite, work for high-power electronics.
ODT’s customizable pads cater to industries, ensuring compatibility with specific needs.
1.3. Tools and Materials Needed for Installation
Installation requires isopropyl alcohol, lint-free cloths, tweezers, and a cleanroom environment.
A die-cutting machine ensures precise pad shapes for complex designs.
Gloves prevent oil transfer, and a pressure applicator aids uniform adhesion.
ODT’s Class 1000 cleanroom ensures defect-free pads for reliable installation.
2. Surface Preparation Techniques
2.1. Cleaning and Degreasing Surfaces

Clean surfaces with isopropyl alcohol (90% purity) and lint-free cloths.
This removes dust, oils, and residues, ensuring optimal adhesion and thermal contact.
For stubborn residues, use a mild solvent approved for electronics, followed by thorough wiping.
2.2. Ensuring Surface Flatness and Smoothness
Surface flatness maximizes contact area, improving thermal conductivity.
Inspect surfaces for irregularities using a straightedge or surface profiler.
Thermal gap pads’ compressibility can compensate for minor scratches or unevenness.
Significant defects may require component rework or replacement.
2.3. Addressing Common Surface Imperfections
Common imperfections include burrs, dents, or machining marks.
Use fine-grit sandpaper (800–1200 grit) or a lapping plate for minor issues.
For larger imperfections, consult the component manufacturer to avoid structural damage.
ODT’s precision die-cutting ensures pads fit irregular surfaces seamlessly.
3. Die-Cutting for Precision Fit
3.1. Importance of Custom Die-Cutting for Thermal Gap Pads
Custom die-cutting ensures thermal gap pads fit precisely, maximizing heat transfer.
Tailored pads reduce waste and ensure alignment in space-constrained applications.
This precision is critical for smartphones and automotive electronics.

3.2. How ODT’s Die-Cutting Services Enhance Performance
ODT’s die-cutting services use high-precision machines with ±0.01mm tolerances.
Operating in a Class 1000 cleanroom, ODT ensures contaminant-free pads.
Automated roll-to-roll lamination and waste removal deliver consistent, high-quality pads.
These pads suit aerospace and medical device applications.
3.3. Measuring and Specifying Dimensions for Die-Cut Pads
Accurate measurements are vital for die-cut pads, using calipers or 2.5D systems.
Account for tolerances and thermal expansion in component dimensions.
Specify pad thickness (0.5–5.0 mm) and shape in CAD software.
ODT’s CNC machining and laser cutting ensure pads meet exact specifications.
4. Application Process for Thermal Gap Pads
4.1. Aligning and Positioning the Pad

Align the pad with the component and heat sink using tweezers or guides.
Ensure full coverage without overhanging edges, which can trap heat.
ODT’s die-cut pads simplify alignment with pre-cut precision.
4.2. Applying Consistent Pressure for Adhesion
Apply uniform pressure with a roller or applicator to ensure adhesion.
Start from the center, moving outward to avoid air bubbles.
ODT’s quality control uses peel strength testers for reliable bonding.
4.3. Avoiding Air Bubbles and Misalignment
Air bubbles reduce thermal conductivity, risking overheating.
Use a vacuum chamber for high-precision applications to eliminate air.
Check alignment with a CCD microscope for a flush fit.
ODT’s cleanroom production minimizes contaminants causing bubbles.
5. Post-Installation Checks and Validation
5.1. Verifying Thermal Contact and Coverage
Inspect pads for coverage using a flashlight or borescope.
Thermal imaging cameras verify uniform heat distribution.
ODT’s measurement systems ensure dimensional accuracy. 
5.2. Testing for Thermal Performance
Test performance with a thermocouple or thermal resistance tester.
Well-installed pads maintain component temperatures within specified ranges.
High-conductivity pads, like THERM-A-GAP PAD 80, show minimal thermal resistance.
5.3. Common Issues and Troubleshooting Tips
Air bubbles or poor adhesion indicate installation issues.
Reapply with increased pressure or replace with ODT’s die-cut pads.
Incorrect sizing suggests measurement errors, avoidable with ODT’s CAD molds.
6. Maintenance and Long-Term Performance
6.1. Inspecting Thermal Gap Pads Over Time

Regularly inspect pads for wear, such as compression set or cracking.
Use visual checks or microscopes to assess condition.
Pads with 40–65% compression set may need replacement.
ODT’s durability testing ensures long-term stress resistance.
6.2. When to Replace or Reapply Pads
Replace pads showing significant compression set or tearing (0.4–0.6 kN/m).
Reapplication may be needed after maintenance or temperature exceedances.
ODT’s die-cut pads ensure consistent sizing for replacements.
6.3. Best Practices for Sustained Heat Transfer Efficiency
Store pads in a cool, dry place (around 30°C) to maintain performance.
Avoid sunlight and moisture, ensuring a 2-year shelf life.
Do not stack pads higher than 7 layers to prevent deformation.
Follow ODT’s storage guidelines for long-term efficiency.